

How To Create An Animated Gif In Illustrator
How to make a GIF by Adobe Illustrator and Photoshop
![]()
We're creating the KittyKrush app for cat lovers all over the world. One of my tasks is creating the splash screen and a loading image that we use in the app. I used Adobe Illustrator and Photoshop to create beautiful and elegant GIF images. Let me show you how.
First, let me show you the results. You can see a splash screen with animation. A black cat with blinking blue eyes and the text "KittyKrush" rising in the background.
I am not a designer.
I was a developer and a product manager. From Oct, my friend — Jasper Tran — and I are creating a cat lovers community. He codes everything and I do the rest. That means I have to be a designer, product manager, tester and everything else.
We've done several products together. There was liondraw.com, a website for sharing drawings; Checkman — The Mobile App Design Checker; and TripX — the car rental marketplace in Vietnam. In most cases, I was the designer. But KittyKrush is different.
KittyKrush.
The mobile app is not new. Cat photos and videos are not new. But there is no mobile application that allows people to share their cat's videos and photos. You're probably wondering what about Instagram and Facebook groups? Let me tell you something. We (I and Jasper) are meow addicts. That means we never get sick of cat photos and videos. Cats are not animals. Cats are a religion. Cats are a drug that you might be addicted. Ask your friends who love cats. They'll definitely say so.
That's why we started KittyKrush — a brand new home for cat lovers all over the world. Meow religion deserves having their own pantheon.
But we can't just build a shitty thing. The app has to be elegant and beautiful. We need to build a perfect app with strong UX and excellent UI. People who love cats have artist blood in their veins. They need something cool, beautiful and perfect. That's why I have to transform myself into a professional designer. Or at least I have to create a professional app. One of the things makes the app professional is a professional splash screen with animation.
The icon.
I have to create a nice animated GIF of a cat. I want the cat to be cute and everyone to love it. The KittyKrush text will be there, of course. The GIF should be inspired by the app logo or icon (frankly, I can't differentiate the logo and icon. Don't ask me about it.)
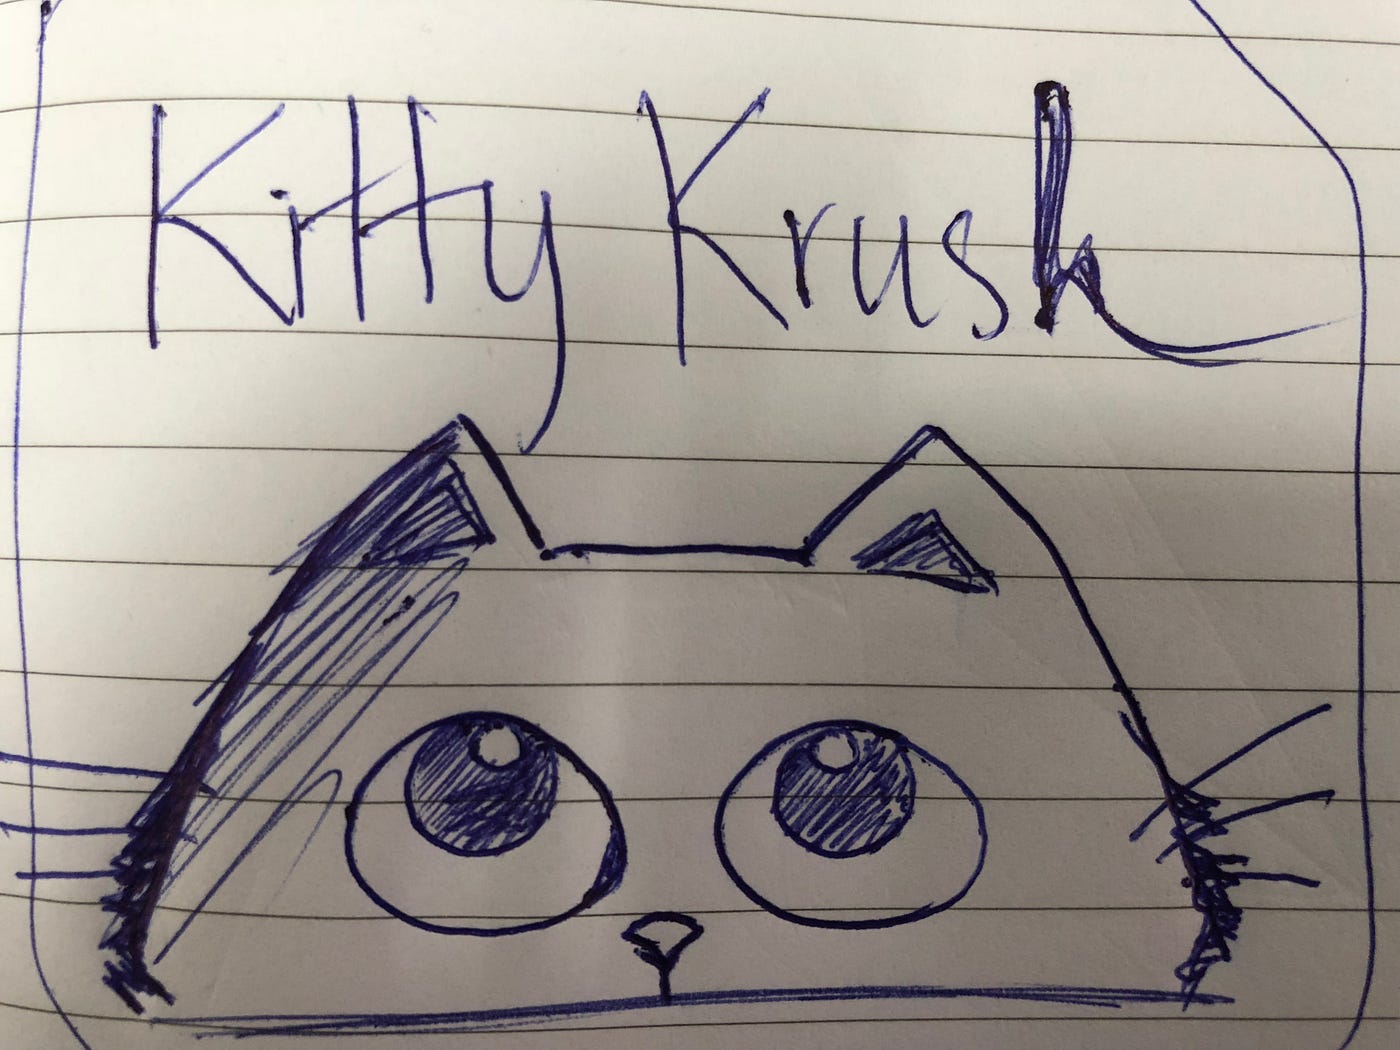
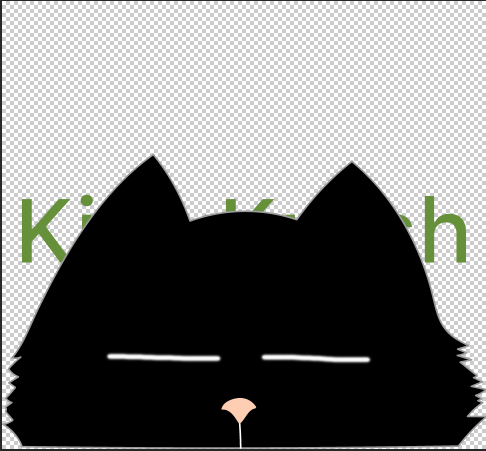
I drafted the logo. A cat with big eyes and KittyKrush text on its head. I think the cat should be black because black is strong.
After using Adobe Illustrator (AI), I've created the nice logo for the app:
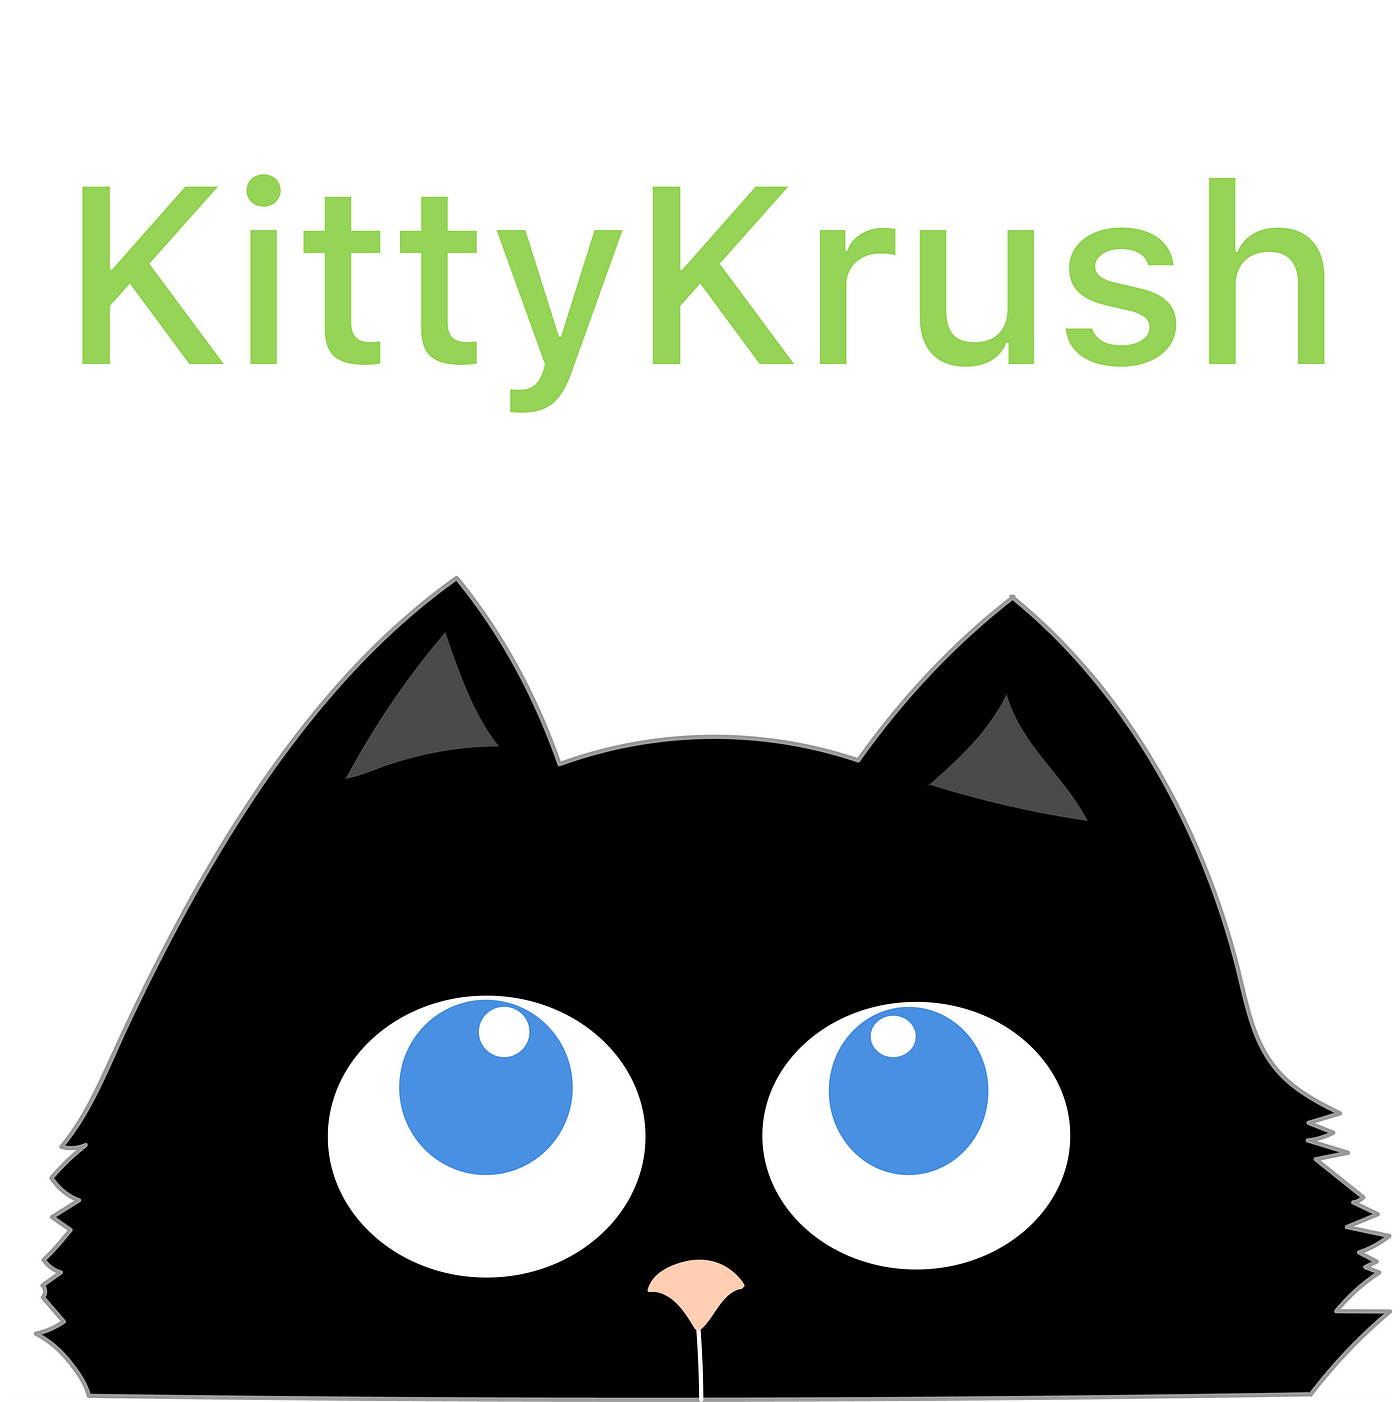
Now I'll guide you through making the GIF from that static image.
Create Photoshop filetype
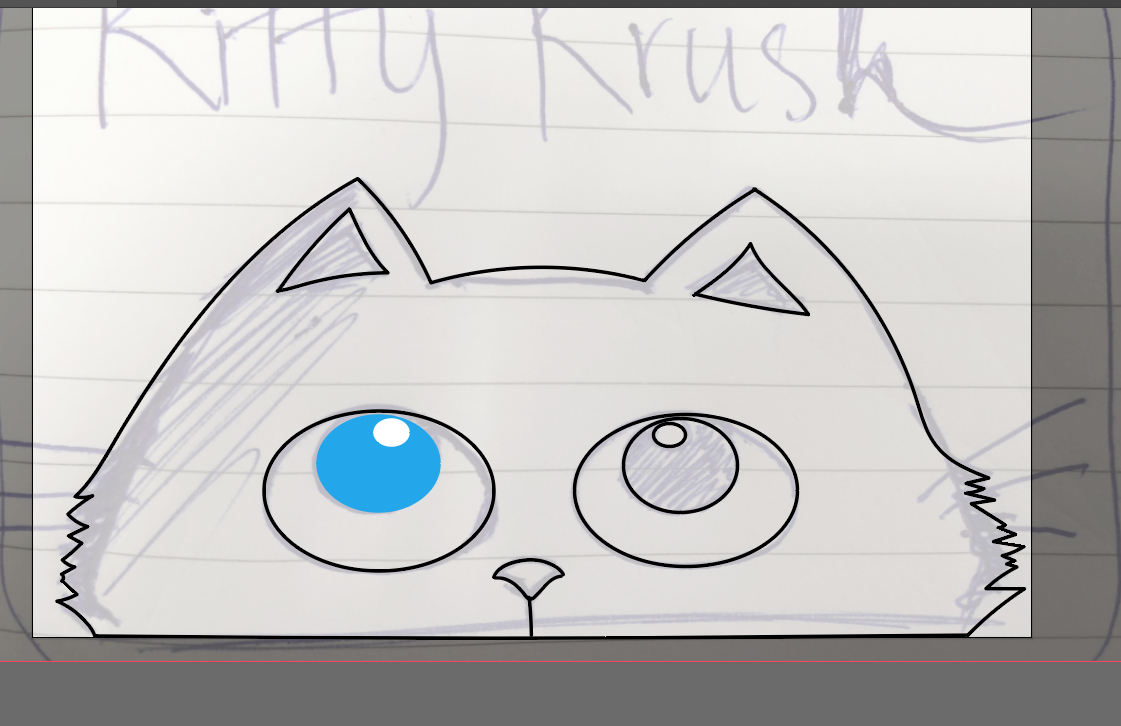
First, you have to create a static image in AI. I've just learned AI. I used Brush (B) to draw lines. AI has an amazing brush tool to draw lines and it will refine the lines for you automatically. I use the Type tool (T) to write text. And that's all, I drew the image.
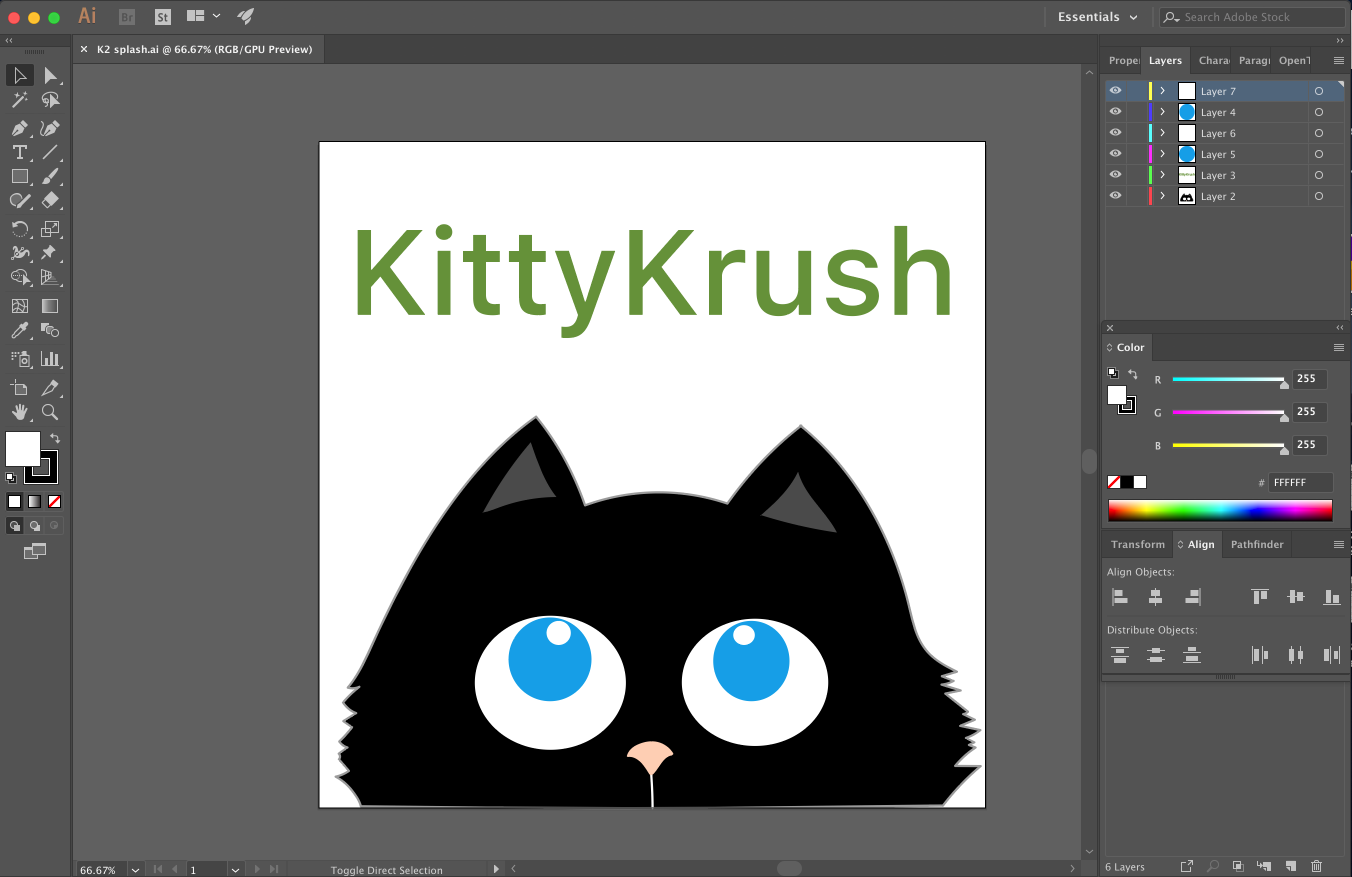
In the animated GIF, I want to move the blue circles and retinas of two eyes. Also, I want the text to rise from the bottom. I have to separate those elements to many layers in AI.
You can see 2 blue circles (layer 4, 5), retinas (layers 6, 7) and text (layer 3). Those layers will be moved in the GIF. The layer 2 will be static.
I also want to blink the cat eyes to make the GIF more cute and friendly. I will show you in the next steps.
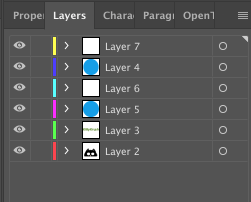
After organizing the graphic into layers, I export the file as Photoshop filetype (psd) by clicking File > Export As and choosing the format Photoshop (psd)
Create timeline's frames in Photoshop
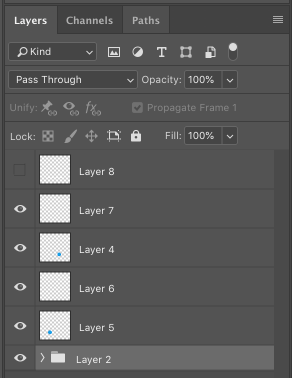
Open the file in Adobe Photoshop (AP) and make sure your layers transferred correctly in AP. If they didn't (which happens sometimes), re-organize them manually.

The layers:
Now, open the Timeline window (if it is not there) by selecting Windows > check Timeline.
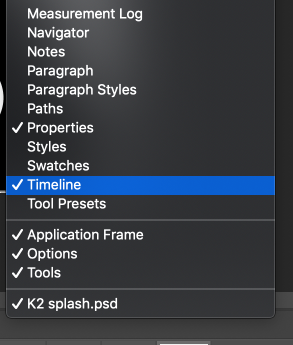
You can see a small window at the bottom of AP. Click Create Frame Animation to see the first frame of the GIF:

The first frame of the GIF is the same exactly with the static photo in AI above.

Next, create the last frame in the loop and generate frames between them
Click the copy icon to duplicate the first frame of the GIF
After duplicating the first frame of the GIF, I want the frame I've just created to be last frame because all parts are in their final positions already (the blue circles are on top of the eyes, the retinas are on top of the blue circles and the text are on top of everything).
Now I edit all parts in the first frame to the lowest positions. The text will be on the bottom (behind the cat's head). The blue circles will be on the bottom of the eyes and the retinas will be on the bottom of the blue circles.
Now I have already had the first and last frame, I select both frames and use the Tweens animation frames feature:
This function helps me to generate as many frames as I want (I choose 8). All movable parts will be moved automatically in those frames from their positions in first frame to last frame.
In Timeline, I even add blink frames (I remove the eyes layers and add a white line) to make the cat blink.
Finally, I have 14 frames (10 frames including the first and last frames) and 4 blink frames.

Because the animation I created is simply moving in one direction, you can do the same things I did. You can make it more complex with other features like: moving parts (layers) around, adding delay times, choosing loop type (once, 3 times, forever), etc.
You can experience the GIF for yourself by hitting the play button.
And that's all.
You are ready to export the GIF now by clicking File > Export > Save for Web (Legacy).

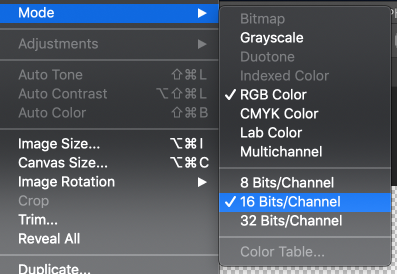
HIGHLY IMPORTANT NOTE: In case you see the feature Save for Web (Legacy) disable, go to Image > Mode > check 8 or 16 Bits/Channel because the web won't allow 32 Bits/Channel.
Summary.
- Step 1: Create static photo in AI and make sure movable parts are in layers properly.
- Step 2: Export the file as a Photoshop filetype (psd).
- Step 3: Open the file in AP and make sure movable parts are in layers properly. If not, re-organize them manually.
- Step 4: Open Timeline, create frames and move parts you want in those frames. Timeline will combine them into one GIF.
- Step 5: Export to GIF using the Save for Web feature.
How To Create An Animated Gif In Illustrator
Source: https://longnguyen.site/how-to-make-a-gif-by-adobe-illustrator-and-photoshop-3122692727da
Posted by: adkinscomay1980.blogspot.com
0 Response to "How To Create An Animated Gif In Illustrator"
Post a Comment